|
You might be wondering why your computer wasn't as fast as the first time you've used it. There are many factors as to why is this happening - It might be that your computer has virus, or maybe it has too many apps running on the background, or it simply needs a good cleanup.
I'm no computer scientist but I've been exposed to computer since I was in grade school and have quite a lot of personal experience. In a span of almost 15 years, we only had to change our computer twice simply because the hardware is either obsolete and it has served its purpose, or it just badly needs an upgrade. In this era, a lot of computer peripherals gets released almost yearly, urging people to purchase the latest technology simply because it performs better than the previous model. It is expensive and sometimes unnecessary, unless you really have a purpose on why do you need to upgrade. 90% of the time, you barely need to upgrade or replace your computer with a new one. You just need to take care of it like any other things you own, and it would still be in almost perfect shape. Unlike a couple of decades ago, computer maintenance nowadays does not need rocket science. With all the kinds of software out in the market, you can just simply install the app and it would do the rest for you.
Before going through this guide, please keep in my mind that this is my personal recommendation. I also suggest that you make a system restore checkpoint before going through the list, in case your computer encounters a problem.
Here are the things that I do to make sure that my computer is healthy, in particular order: 1. Clean up your computer junk with Piriform's CCleaner. This software is a very powerful tool and not to mention, very easy to use. After installation, simply click "Run Cleaner" and it will do the rest for you. 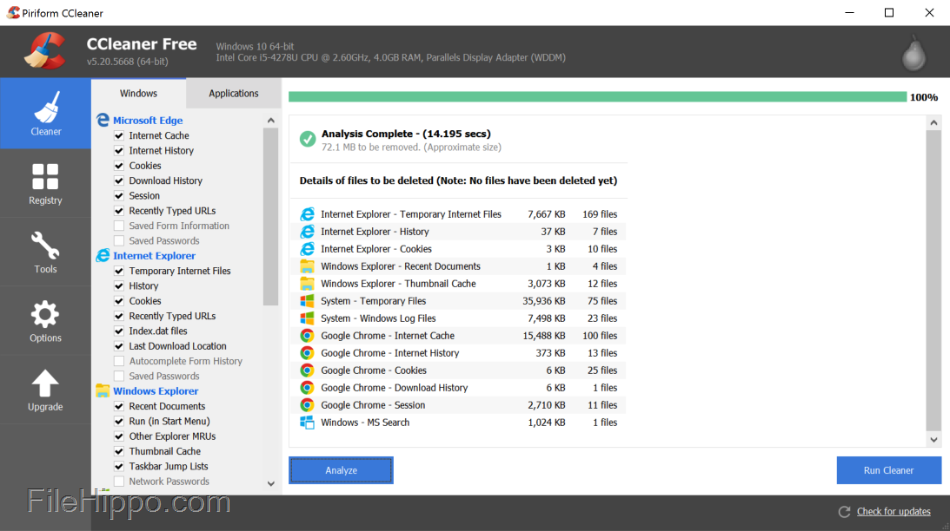
What does CCleaner do? It wipes all unnecessary junk from your computer - mostly temporary files from various software that you've installed, internet cache, empties your recycle bin, everything it knows that is not needed by your computer.
To add to that, it also has other features like the startup configuration, where you can toggle the programs which you want to run on your computer startup. I find this very useful since some software starts on the background without your permission, which adds up to the load of your computer memory.
2. Scan your computer for viruses or malware. If you have an installed antivirus program for you computer, then that is great. It would already doing its job protecting your computer. But having an antivirus program run in the background eats up a lot of computer memory.
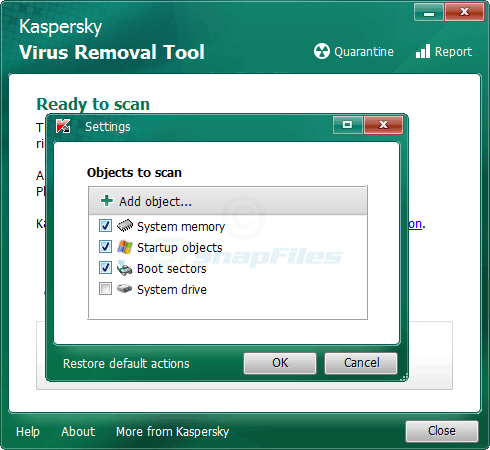
If you're a home user like me, I just run my antivirus during maintenance time. My go-to choice when scanning for viruses are Malwarebytes and Kaspersky Virus Removal Tool. I personally recommend them because those two software are one of the few antivirus programs that have a disinfect capability, unlike other antivirus that directly deletes infected files upon virus detection. Not to mention that it is lightweight and portable, and the best thing is they have a FREE version. Malwarebytes is arguably one of the best anti-malware software in the market that is also not heavy on CPU usage. In this era, most computer virus now comes from the internet in the form of malware, and MBAM makes sure that you are protected from it. 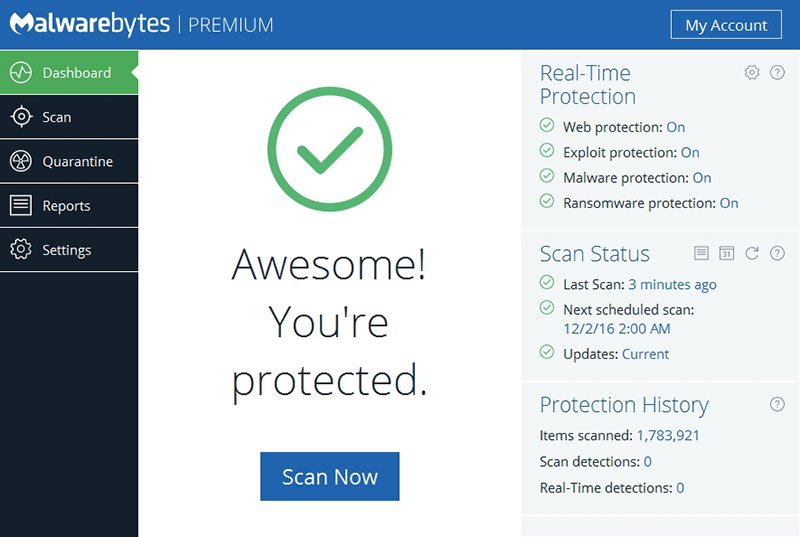
On the other hand, I use the Kaspersky Virus Removal Tool just to make sure that there are no virus that slipped in. It is a portable tool from the renowned Kaspersky which simply does it job and cleans your computer from viruses.
3. After cleaning your computer from junk files and potential virus infections, I use a built-in program from Windows itself - System File Checker. This tool scans and restores any Windows file that it has deemed corrupted, and attempts to fix it to its original state.
You run this tool by simply opening Command Prompt and typing "sfc /scannow", as seen on the image below. 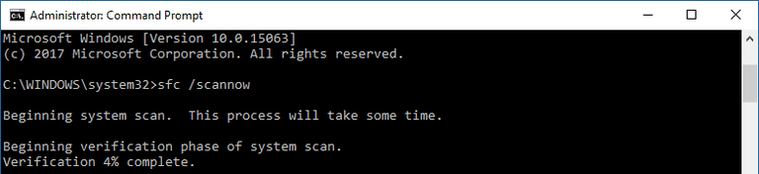
This tool will run for about 30 minutes up to 2 hours, depending on the health of your computer and its speed. Wait for it to finish and I suggest that do not use your computer until it has finished scanning.
4. Fix any potential hard drive errors using another built-in tool from Windows - CHKDSK(Check Disk). It verifies the file system integrity of a volume and fixes logical file system errors. Basically it tries to fix your hard drive internally.
This command can be easily triggered in the Command Prompt like sfc by simply typing "chkdsk /r". There are a lot of parameters that you can use beside "/r", just make sure you know what you're doing :) 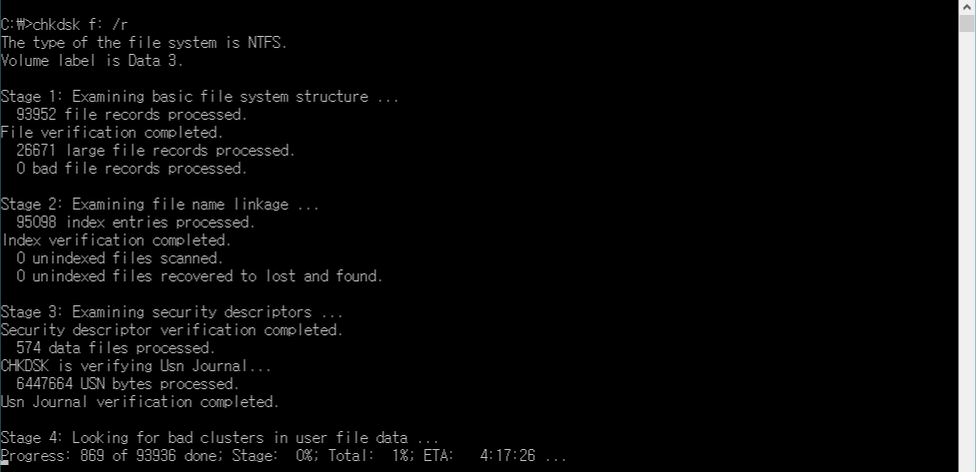
If you're going to scan your extended drives(Anything that your Operating System doesn't use), You can see the progress on the command prompt. But if you're going to scan the main drive(C:/), it will automatically run itself during the next system restart.
Take note that this process takes a lot of time and scanning your main drive means your computer would be unusable for several hours, which again depends on your CPU speed, drive size and health. As an example my 1TB HDD takes around 3-5 hours to complete. Whatever happens, do not turn off your computer while it is still running. There are some instances that the progress does not move or stuck at a certain percentage, do not worry, and just let it run. I suggest that you do before you go to bed to save yourself some trouble.
5. This last step is optional, and is explicitly for HDD drive types only. I repeat, this is only for HDD drives. If you have an SSD, you should already be good to go and do not need this part.
The last step is Defragmentation, or Defrag. It is a process that reduces the amount of your disk fragmentation. It does this by physically organizing the contents of the mass storage device used to store files into the smallest number of contiguous regions (fragments). It also attempts to create larger regions of free space using compaction to impede the return of fragmentation. Some defragmentation utilities try to keep smaller files within a single directory together, as they are often accessed in sequence. 
Windows has a built-in tool once again called Disk Defragment for this step. But I personally use Piriform's Defraggler since it is much convenient, informative and at the same time easy to use.
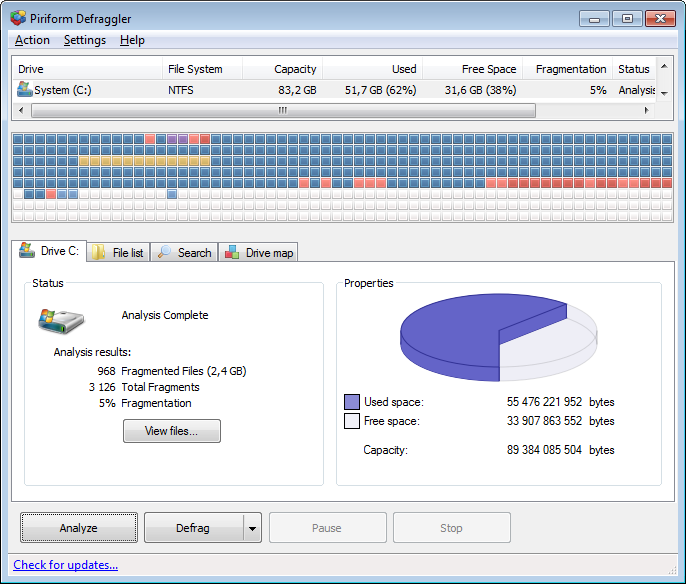
This process like CHKDSK takes time, mainly dependent on the state of your HDD. Though you can use your computer while doing this, I highly suggest that you leave your computer as well to avoid changes on your file system directory and let Defraggler does it job.
The tl;dlr version of this blog is:
And that's it, your computer is now optimized and healthier than before! Normally, the changes would be most noticeable inthe following areas:
Keep in mind that even if you've done everything on this blog, it would still be dependent on the physical health of your computer peripherals.
Thank you for reading through my first blog, I hope it helped you even just a little bit!
0 Comments
|
AuthorLake Effect Kid Archives |
 RSS Feed
